Webpack Tutorial
Introduction
This quick start guide shows how to create a simple KeyLines visualisation with Webpack. When you are finished, you will have a simple interactive KeyLines chart.
See also our other demos, documentation, API Reference page and visit our blog for best practices on building graphs.
Note that if you store KeyLines in your source control you must ensure it's not publicly available. Read more about the Obfuscation Requirements before deploying your application.
Requirements
To follow this tutorial, you should have the latest version of
Node.js installed.
To check your version, you can run node -v in the console.
Step 1: Create a new package
Create a new directory named my-app and create a new npm package from this directory:
mkdir my-app && cd my-app
npm init -y
In the terminal from the my-app directory, add the following Webpack dependencies:
npm add -D webpack@^5 webpack-cli@^4 html-webpack-plugin@^5 webpack-dev-server@^4 webpack-merge@^5
| Dependency | Description |
|---|---|
| Webpack | The Webpack module bundler. |
| webpack-cli | Adds a set of commands for Webpack configuration. |
| html-webpack-plugin | Simplifies creating HTML output files to be served to the generated bundles. |
| webpack-dev-server | Allows using Webpack with a live-reloading development server. |
| webpack-merge | Concatenates arrays and merges configuration objects to help manage configuration. |
Step 2: Create a boilerplate application
Create a new src folder inside the my-app directory.
Inside my-app/src, create a new template.html file with the following contents:
<!DOCTYPE html>
<html>
  <head>
    <meta charset="UTF-8">
  </head>
  <body>
    <!-- This is the HTML element that will contain the KeyLines component -->
    <div id='kl' style='width: 800px; height: 600px;'></div>
  </body>
</html>
Also inside my-app/src, create new a index.js file with the following contents:
console.info('Hello World!');
The index.js file will eventually contain our application code.
Back inside the main my-app directory, create a new webpack.config.mjs file containing Webpack configuration:
import { merge } from 'webpack-merge';
import HtmlWebpackPlugin from 'html-webpack-plugin';

/** Create an absolute path from the current file */
const absPath = path => new URL(path, import.meta.url).pathname;

const common = {
  entry: {
    main: absPath('./src/index.js'),
  },

  plugins: [
    new HtmlWebpackPlugin({
      template: absPath('./src/template.html'),
      filename: 'index.html',
    }),
  ],
};

const development = {
  mode: 'development',
  devServer: {
    static: {
      directory: './dist',
    },
    port: 8000,
    open: true,
    compress: true,
    hot: true
  },
  devtool: 'eval-source-map'
};

export default merge(common, development);
Step 3: Run a web server
To configure an easy way of starting the dev server, add the following script to the existing file my-app/package.json:
{
  "scripts": {
    "start:dev": "webpack-dev-server --progress"
  }
}
After this you can start the dev server by running this command:
npm run start:dev
This will open a new browser window. In the developer tools console you should see the line:
Hello World!
Step 4: Create a chart
Now we'll integrate KeyLines into the application.
Download the KeyLines package from the link below and place it in the my-app directory.
Request a trial (Required to Download)Next, open a new terminal window from the my-app directory and add KeyLines as a package dependency:
npm add file:./keylines-8.10.2_public-trunk.tgzUpdate my-app/src/index.js to import KeyLines and load a chart containing one node:
import KeyLines from 'keylines/esm';

async function main() {

  const chart = await KeyLines.create({ container: 'kl' });

  await chart.load({
    type: 'LinkChart',
    items: [{ id: 'id1', type: 'node', c: '#43976C', t: 'Hello World' }]
  });

  chart.zoom('fit');
}

main();
You should now see a simple KeyLines chart in your browser:
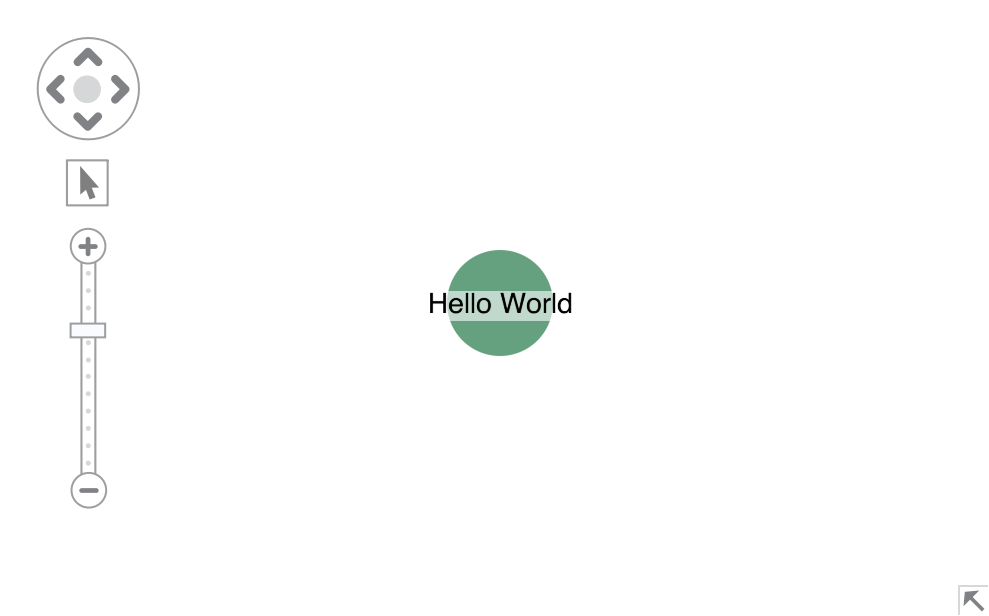
This is your environment to develop your application.
Step 5: Bundle your files
To build an optimised, production-ready application we'd like a minified bundle without development-only Webpack runtime files.
To do this we'll split our configuration into two parts: development and production.
The webpack-merge
dependency (which we installed earlier) and the NODE_ENV environment variable will help us do this.
Add a production configuration to my-app/webpack.config.mjs which will output the application assets to ./dist:
const production = {
  mode: 'production',

  output: {
    path: absPath('./dist'),
    filename: '[name].bundle.js',
  },

  performance: {
    // Suppress warnings about bundle/asset sizes
    maxEntrypointSize: 1024000,
    maxAssetSize: 1024000
  },

  optimization: {
    minimize: true
  },
};
And replace export default which will enable the production build when NODE_ENV equals 'production':
export default merge(
  common,
  process.env.NODE_ENV === production.mode ? production : development
);
And then add 2 more scripts to my-app/package.json:
{
  "scripts": {
    "start:dev": "webpack-dev-server --progress", // added in step 3
    "build": "NODE_ENV=production webpack",
    "start:prod": "serve ./dist"
  }
}
In this tutorial we'll use serve to host the production assets. To install it, run:
npm add serve@^13
Finally, run the commands to build the production assets and start the production server:
npm run build && npm run start:prod
You should now have a simple KeyLines application bundled with Webpack, with both a development and production environment.